![[Spur 0 Logo]](0fnlog_ngg11.gif) |
|
|
|
|
|
|
- Updated November 22nd 2004 -
|
GFE-Gallery |
DAMAG-Gallery |
NGG 11 |
"Pig's Nose" |
Kleinbahn |
||
|
Data privacy statement
(German only) |
Legal notice
(German only) |
|||||
Garratt Project 'NGG 11'
Initially I wanted to convert an
0-6-0 German War Department tender loco into a Victorian "G" class.
The longer I studied the prototype the more I
became convinced that this rather would be a complete scratchbuilt model than a
conversion.
So I came back to a previous idea to build the
first 2' gauge 2-6-0+0-6-2 Garratt of the South African Railway:
An NGG 11 class Garratt
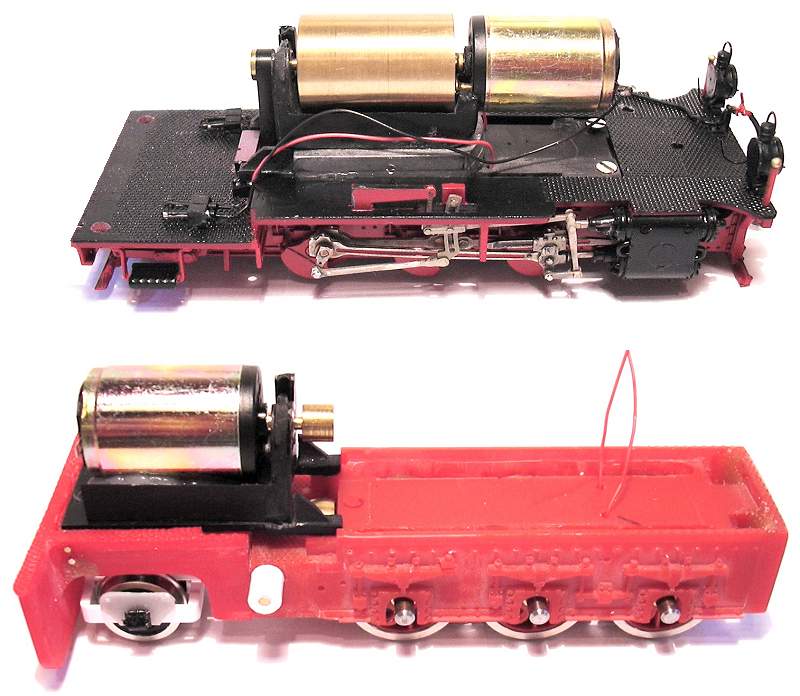
The below collage shows the rough
idea of converting the 750 mm NG loco into a Garratt.
.

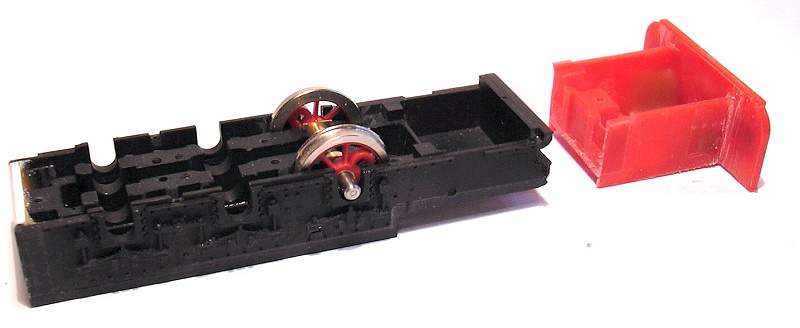
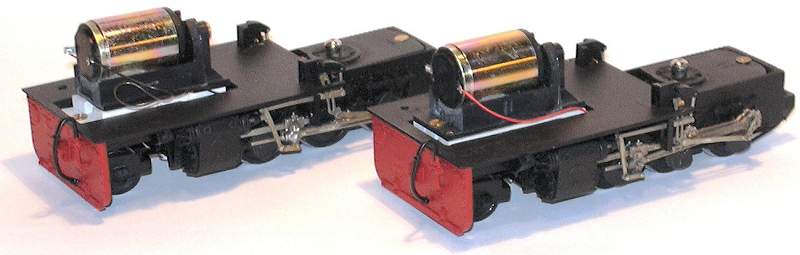
Step 1:
.
At first I built the two chassis. Since the basic
ones have no bogies I had to heavily rework the originals. I decided to make two
chassis from four original ones.
.
.
I supplied new larger wheels. The diameter is still 1 mm smaller than the
original NGG 11 ones but are the maximum which fitted into the given chassis.
.
.
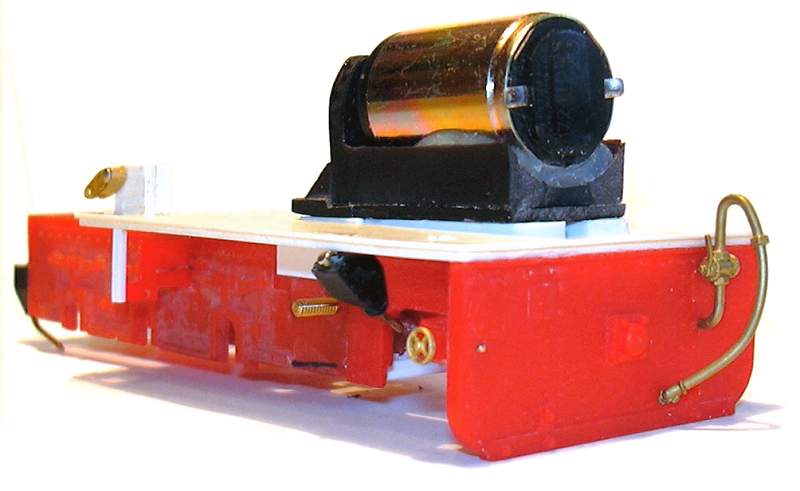
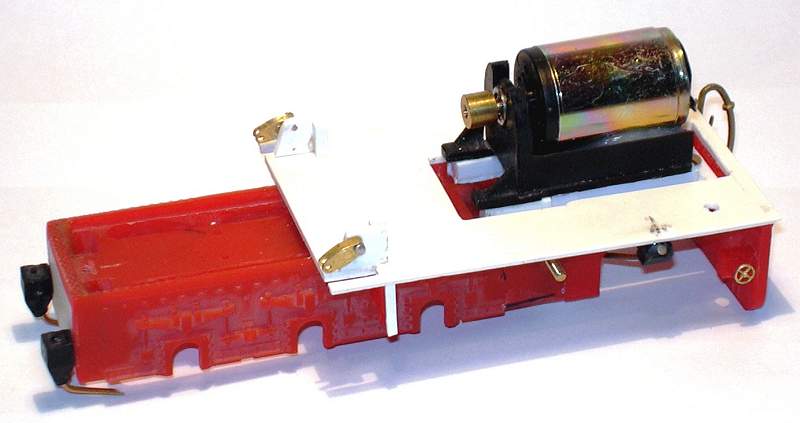
I definitely wanted to save the smooth running belt driven motor/gear
combination. To fit into the bunker covers I had to remove the flywheels and
turned the drive at 180 degrees.
.
.
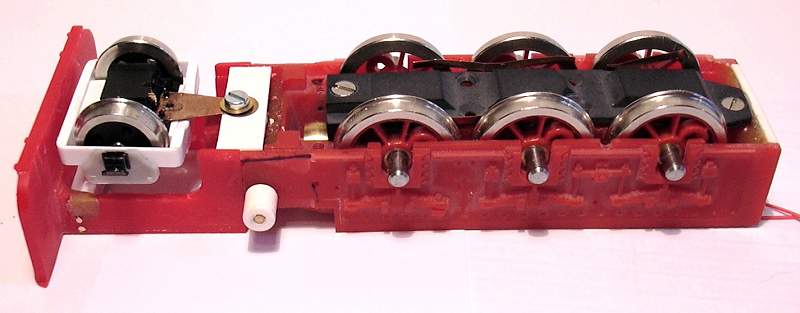
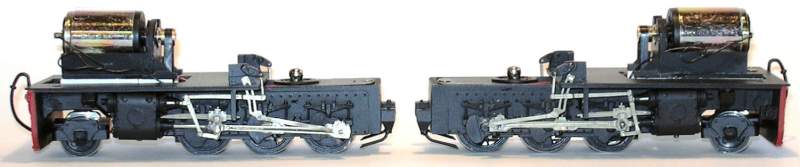
Step 2:
.
Next step was to prepare the chassis for the valve gear.
.
.
.
.
Well, doesn't this reveal the shape
of things to come?
.
Step 3:
.
Valve gear is now completed. Also the pivots for the boiler unit. Here I
came back to a very old trick. I used a snap-fastener as pivot so I didn't have to
drill through the chassis (which actually isn't possible because of the worm gear
which uses the whole space within the frames).
.
.
.
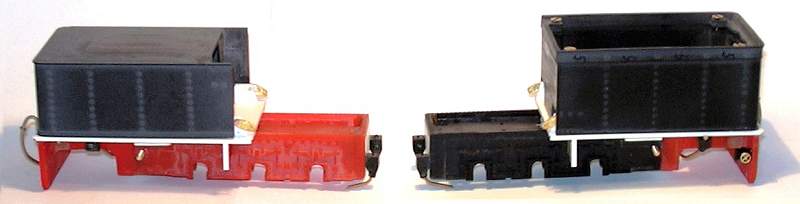
Next step's finishing the tender bodies.
.
.
.
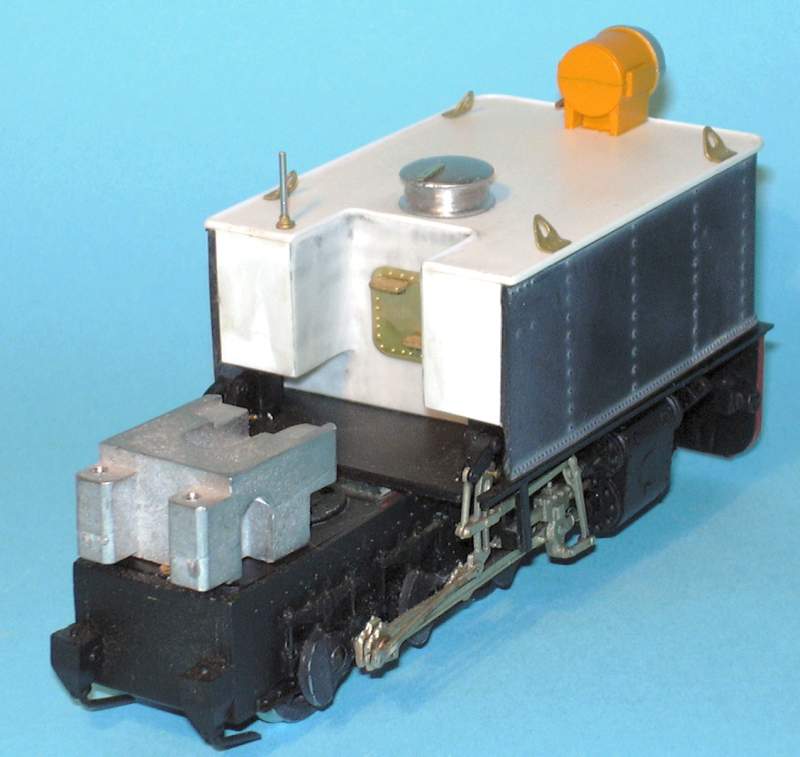
Step 4:
.
The tender bodies are ready now. Work on the tenders was much more than I
expected. Initially I tended to keep the bodies as they were, but to make them
more prototypically they had to be reworked heavily.
.
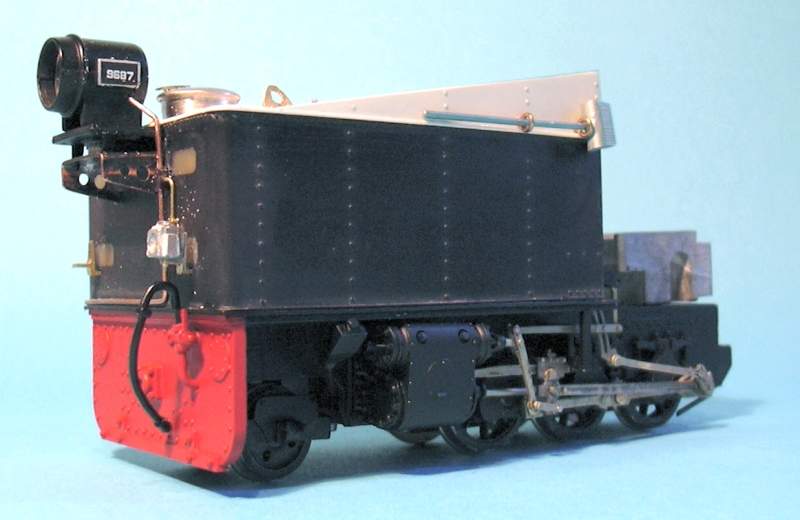
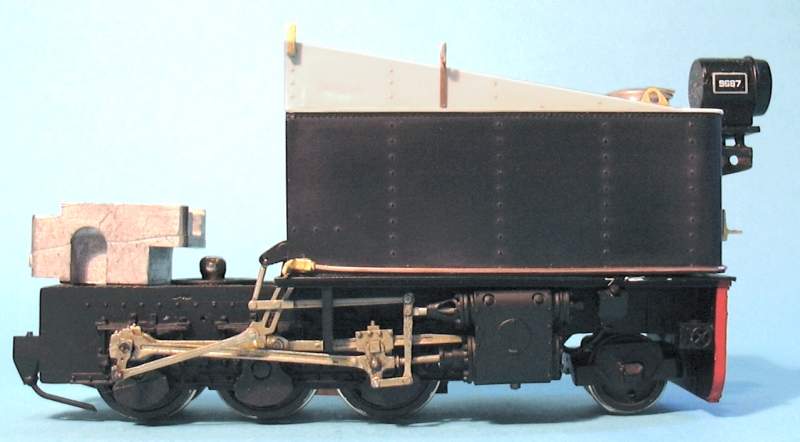
While the front tender of a Garratt is a pure water tank...
.
 .
.
.
.
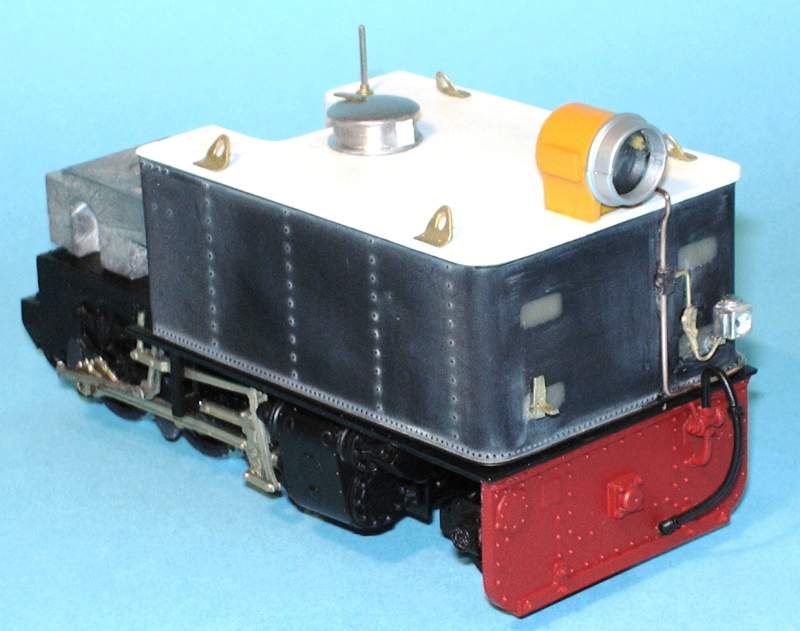
...the rear one is a mixed water tank and coal bunker.
.
 .
.
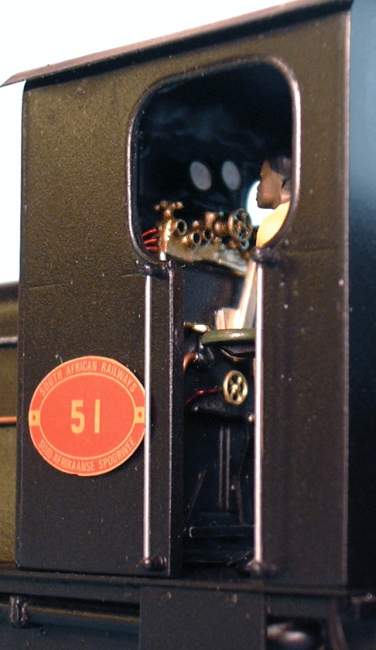
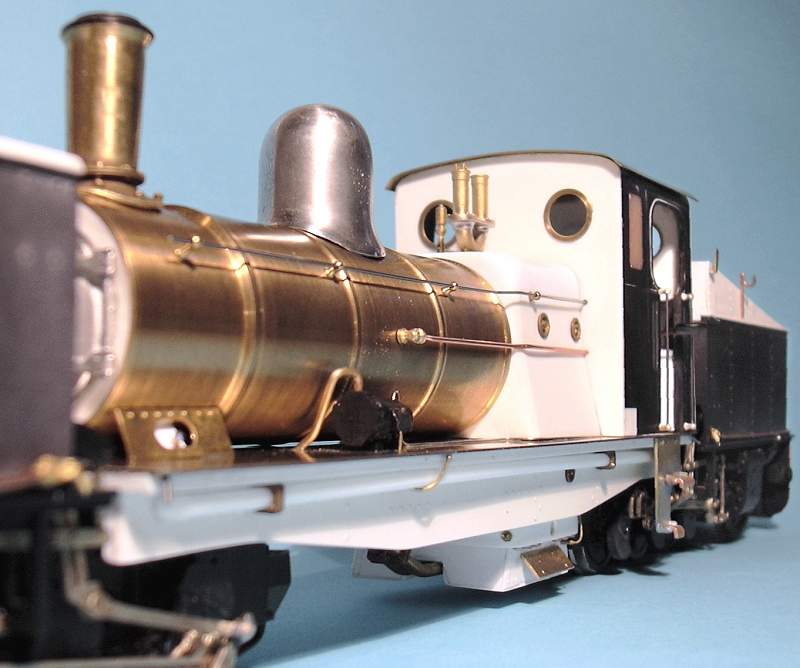
Step 5:
.
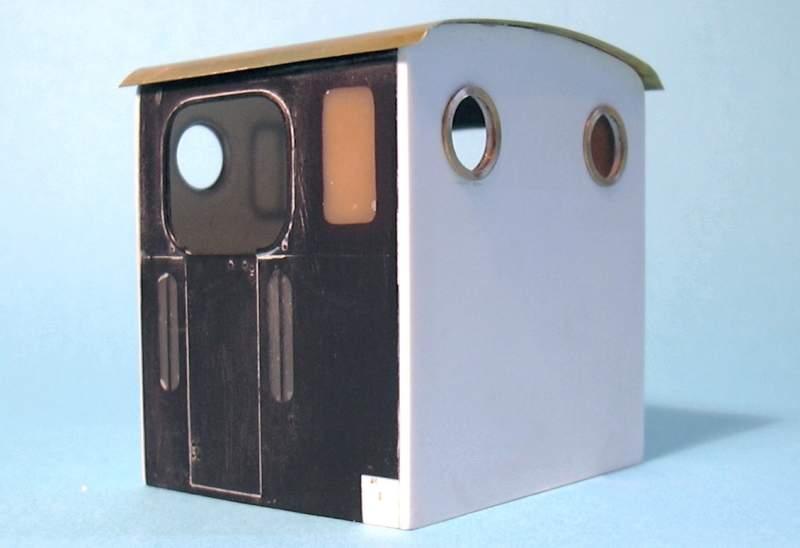
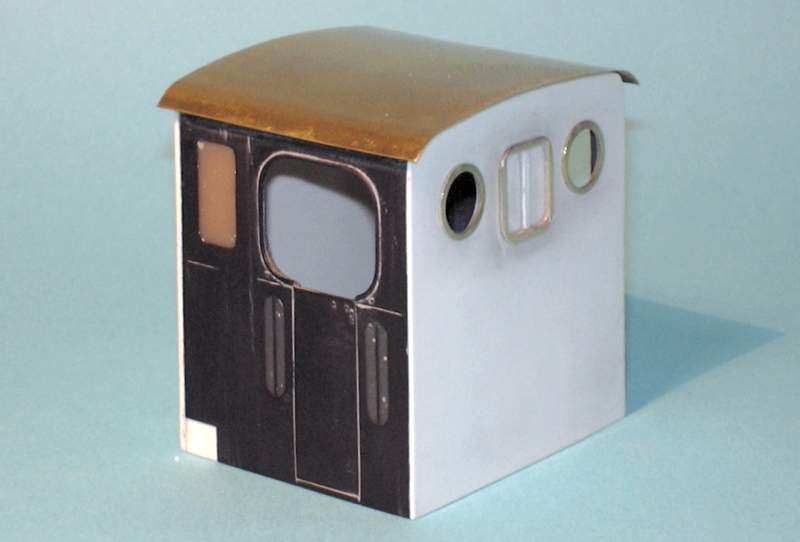
Look at the cab. Building one from scrap wouldn't have been much more effort I suppose.
Anyway, it now looks quite similar to the original cab
.
 .
.
.
.
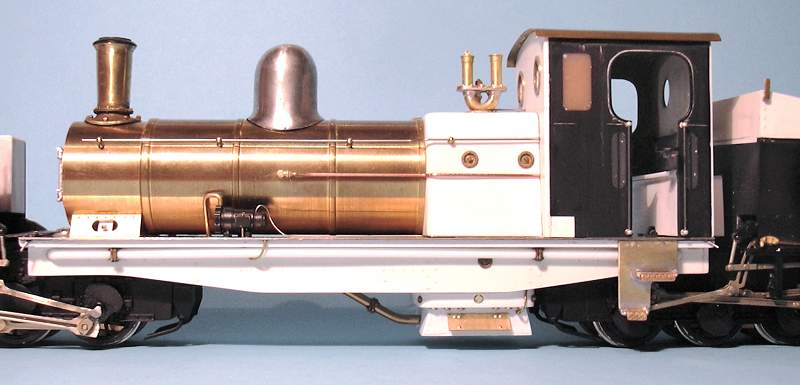
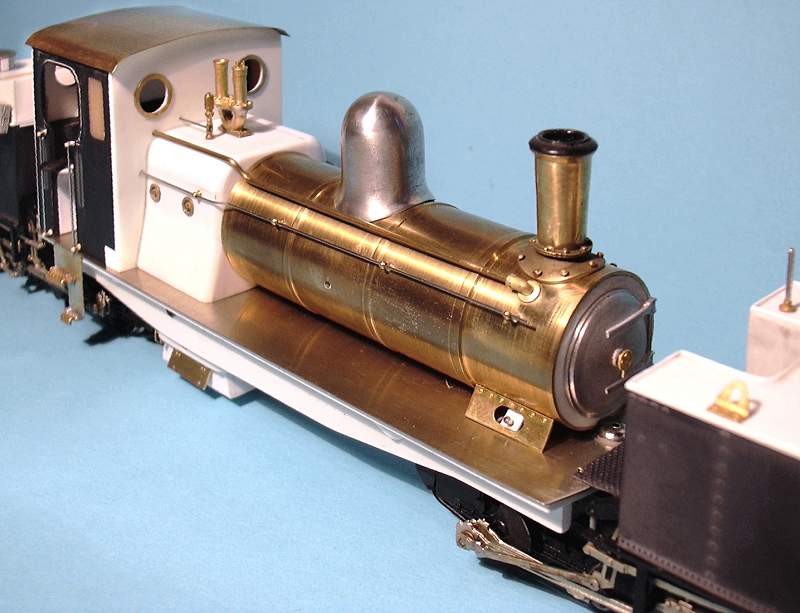
The boiler is a lathed brass tube and was already
made earlier. Only the Belpaire firebox is missing to complete the
superstructure.
.

.
.
Work in progress: Making of the firebox.
.
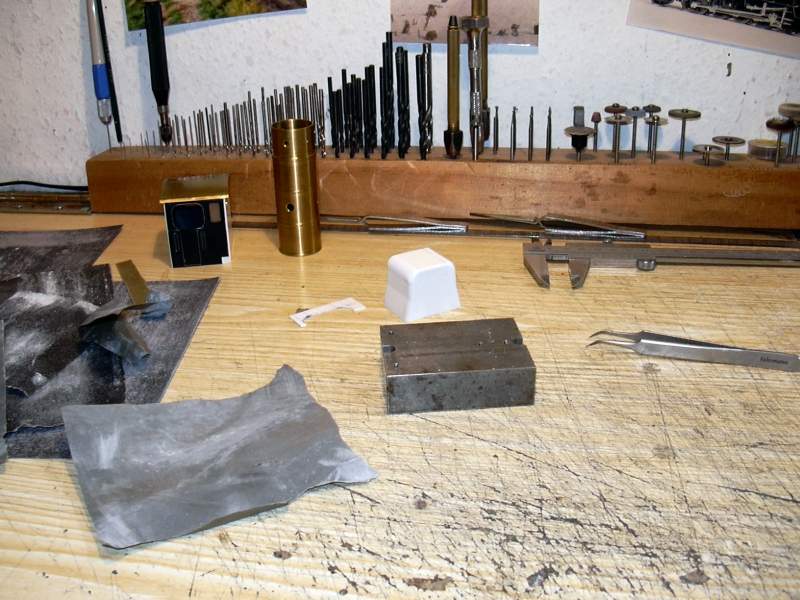
.
.
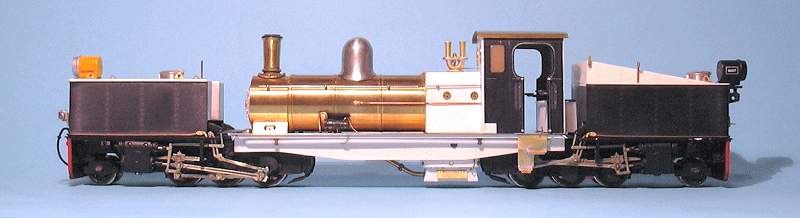
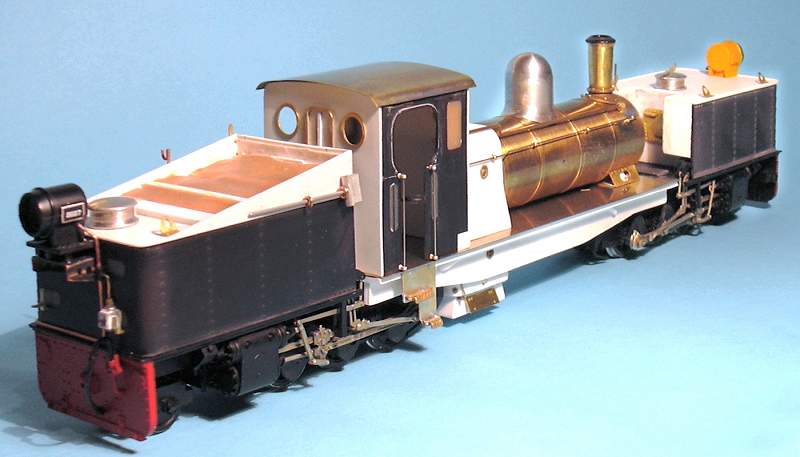
Building
completed:
.
Last weekend the building came to an end. Next weekend the model will be painted
and a week later the finishing touch will be applied.
.
.
.
 .
.
.
.
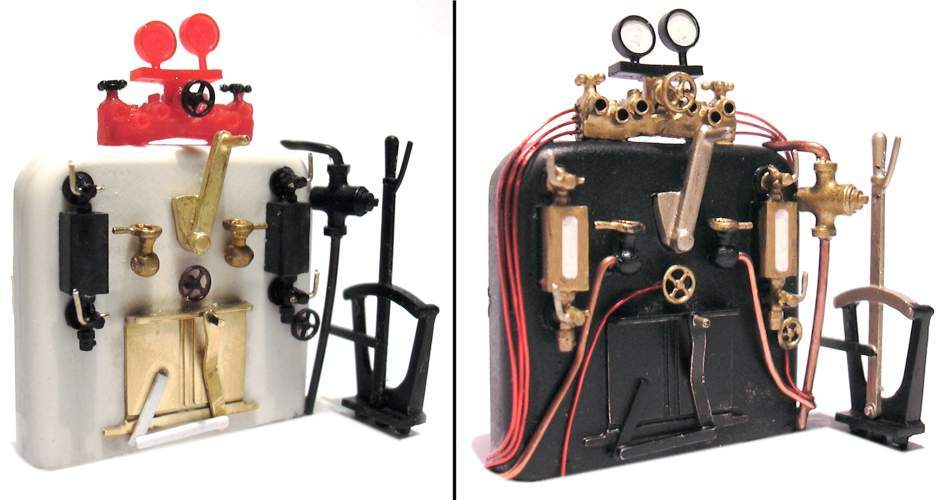
Final work:
.
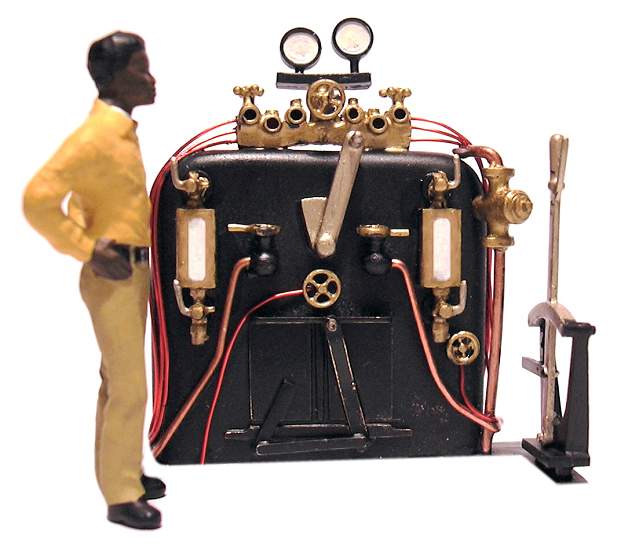
The firebox was a good piece of work. Lots of bare brass, lots of bare copper -
though the locomotives in South Africa looked worn in the last days, all things
in the cab were bright and shiny. My loco crew makes no exception. Only the area
round the firehole looks somewhat shabby.
.
|
Before |
After |
|
|
|
.
The fireman familiarizes with the new fittings..
.
|
|
It's a pity that so few of the firebox is visible from outside. |
.
.
--- Back to NGG 11 page ---